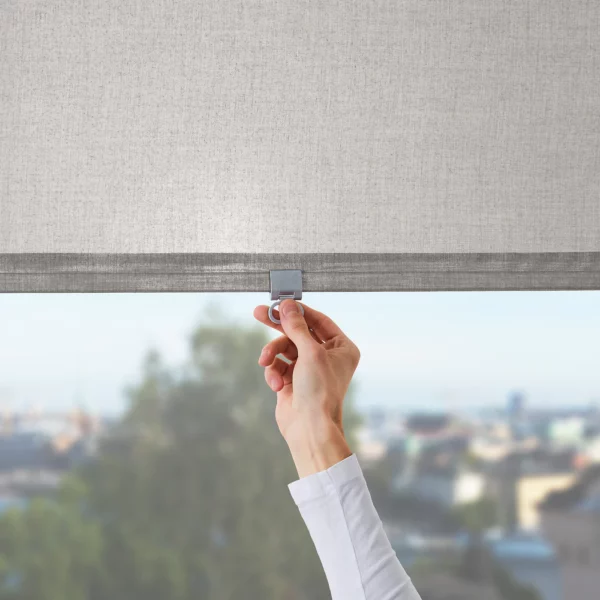
How to Install & Operate Cassette Blinds

Installing and operating cassette blinds is a simple process that can add style, functionality, and privacy to any home or office space. By following the steps outlined in this guide, you’ll be able to install and operate your cassette blinds with ease.
What Are Cassette Blinds?

Cassette blinds are a type of blind that fits within a metal or plastic casing. This type of window covering provides an effective way to control light levels and maintain privacy in any room of your home or office.
Benefits of Installing Cassette Blinds
Installing cassette blinds can bring multiple benefits to your living or workspace. Here are just some of the advantages of having cassette blinds:
– They provide protection from harmful UV rays that can damage furniture, carpets, and other items in a room.
– The enclosure helps to reduce noise from outside sources entering through windows.
– The slats can be adjusted for varying levels of light depending on individual preferences.
– The sleek appearance adds a modern touch to any décor while providing privacy when needed.
– Their efficient design allows them to mount securely with minimal effort.
– They are easy to clean using just a vacuum cleaner and rag!
How To Install Cassette Blinds Correctly

1. Gather the necessary materials:
You will need two bracket blocks (one for the left side and one for the right side), four screws, two mount bars (for inside installation), or two wall anchors (for outside installation).
Additionally, you will need a tape measure, screwdriver/drill/leveller, drill bits/screw anchor adapter if needed, marking pen, ladder/step stool if necessary, small brush (for dusting), and goggles (to protect eyes from dust particles).
2. Measure the width of the window opening:
Using a measuring tape mounted on your wall near the top edge of the window opening, measure from one side edge all the way across to the opposite side edge where it meets adjacent wall openings or frames of other windows.
Take note of this measurement as you will use it later when selecting the appropriate cassette blind size for installation.
3. Install left bracket block:
With help from a leveller, take the left bracket block onto your desired height position, then insert the screws into the predefined holes at the backside. Make sure they are all tight enough but don’t over-tighten them too much so as not damage material underneath surface area being drilled into. Finally, wipe away excess debris around the perimeter using a small brush before moving onto next step below.
4. Install the right bracket block:
Take the second bracket block and follow the same instructions as outlined in step 3 above, but this time make sure the measurement between both bracket blocks matches the width of the window opening for correct installation.
5. Attach mount bars or wall anchors:
Depending on whether your installation is inside (requiring the use of mount bars) or outside (where wall anchors may be needed) attach them to selected positions into the backside of left/right bracket blocks; then make sure they are secured properly without damaging any components during the process.
6. Place cassette blinds onto mounting points:
With everything ready to go, take your cassette blinds and carefully place them onto mount bars/wall anchors while ensuring their weight is evenly distributed between both brackets so as not to cause any sagging or instability during operation.
7. Test the installation:
With everything in place, use your hands to test if the blinds can be moved up and down without issue; then check how well they fit within the window opening, again testing for accuracy and proper operation before finally taking a step back and admiring your work!
Following these steps should ensure that your cassette blinds are installed correctly and operating smoothly.


